Back to Table of Contents :
Visualization Stages
Visualization manipulation occurs after the raw data have been processed to remove electronic noise. (The processed data are usually in FITS format, which allows one to make measurements from the data.)
Initially work on a low resolution image (i.e. reduce the dimensions by combining pixels together or reducing the number of pixels). Artists call this a thumbnail sketch. Then you can quickly produce a number of strategies (ways of combining colour and other compositional elements) and determine the optimal one. Then you can re-work your strategy on the full resolution dataset.
It should take 1-2 weeks to make a satisfying image.
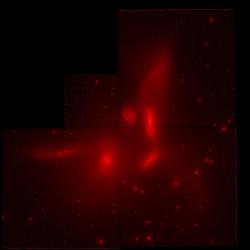
This example uses HST data in the visual range of the spectrum. (For more about this interacting group of galaxies see Hubble Watches Galaxies Engage in Dance of Destruction.)
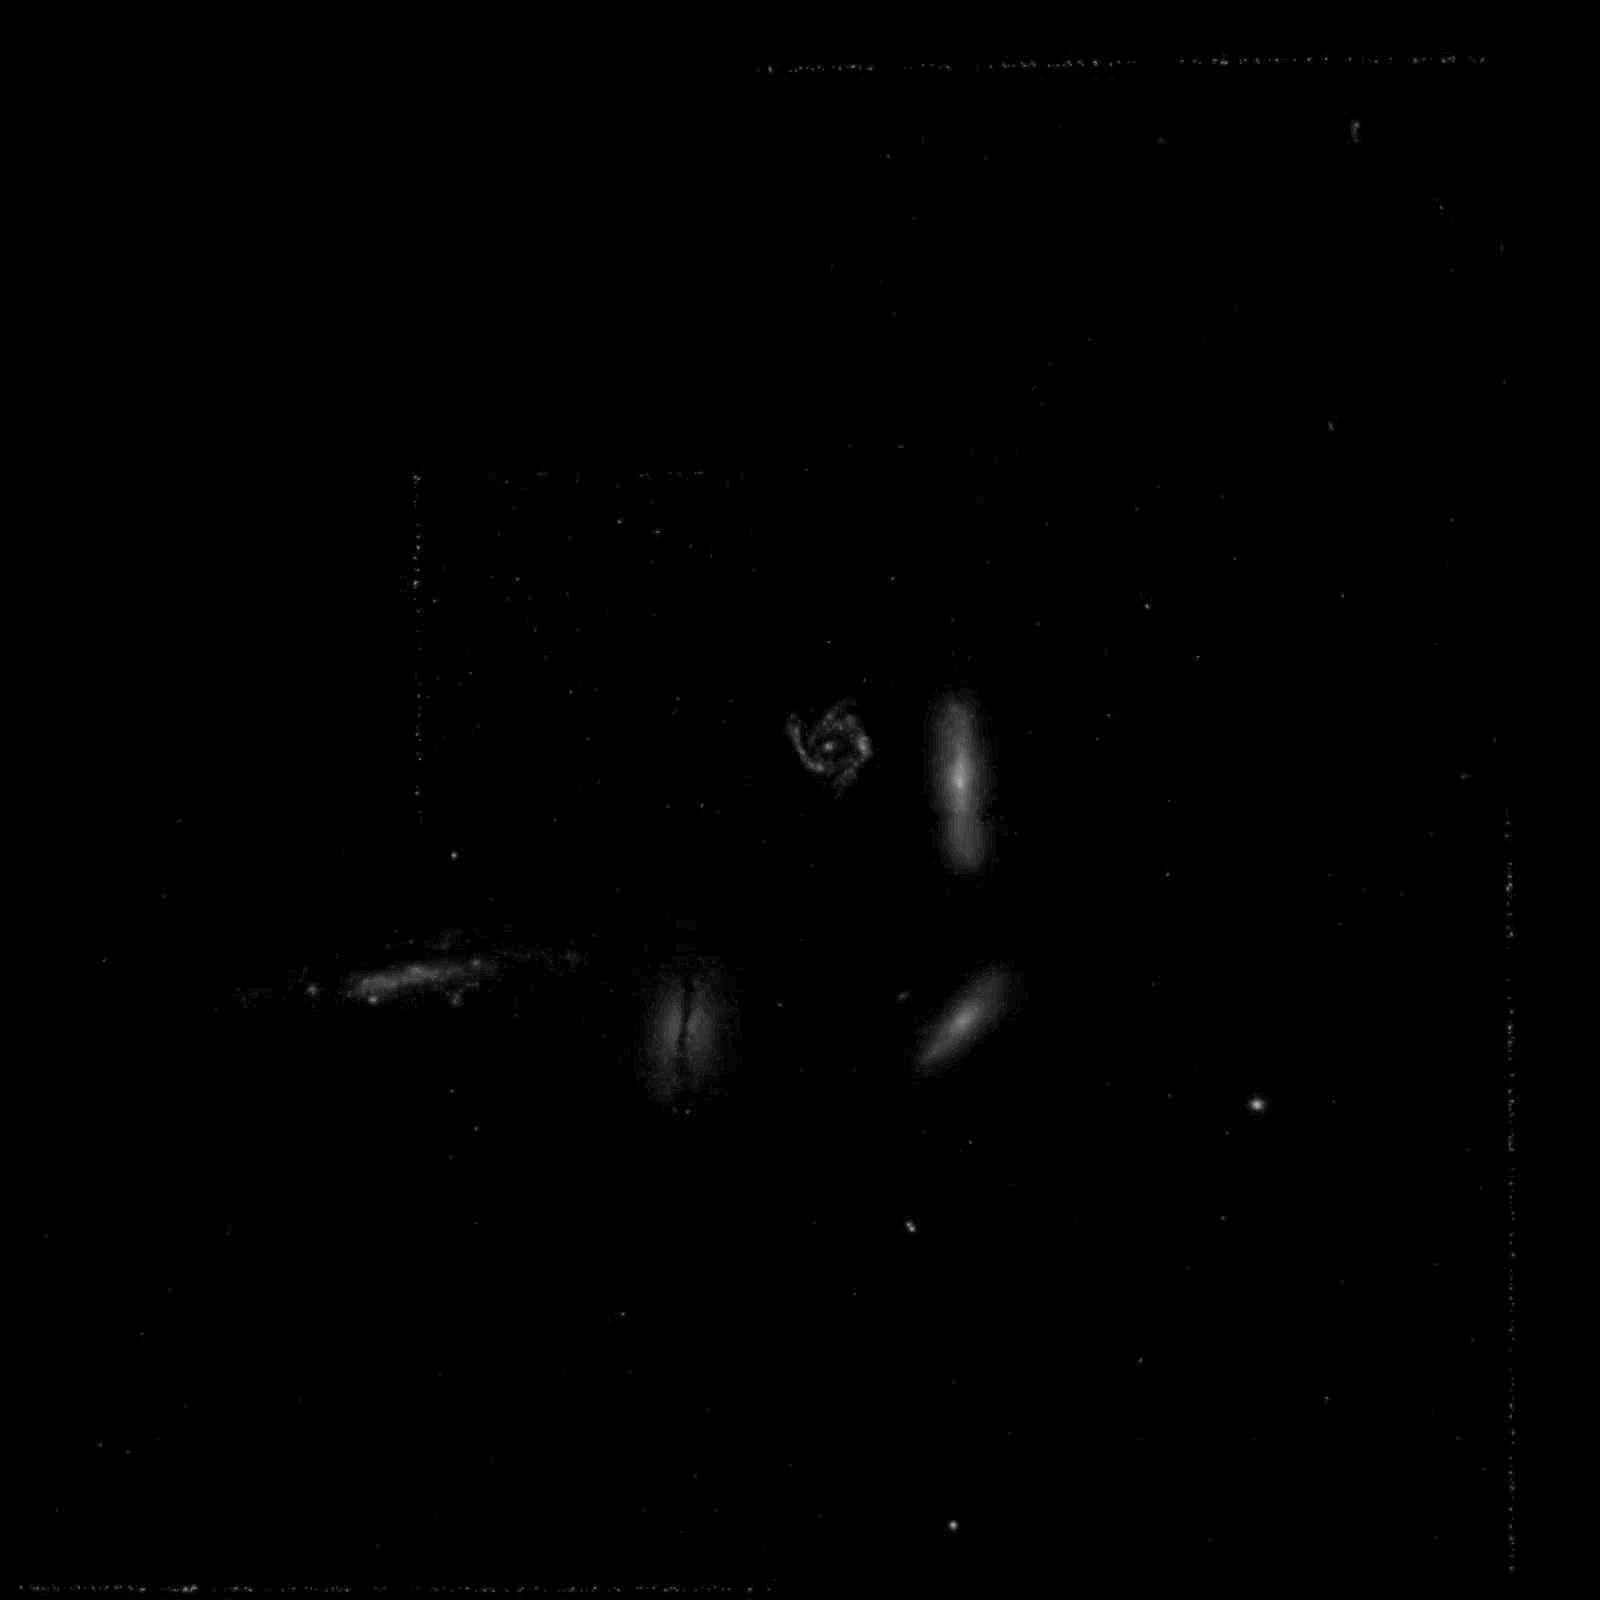
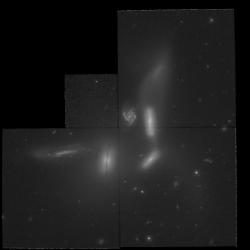
- Stage 1: Display the intensities in these Black and White data
using a mathematical "stretch" which allows the viewer to see very
faint and very bright regions simultaneously.
Original Image Stretched Image 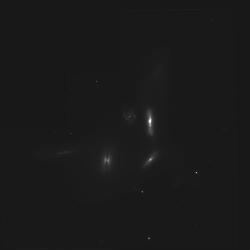
Technical Instructions on Stretching.
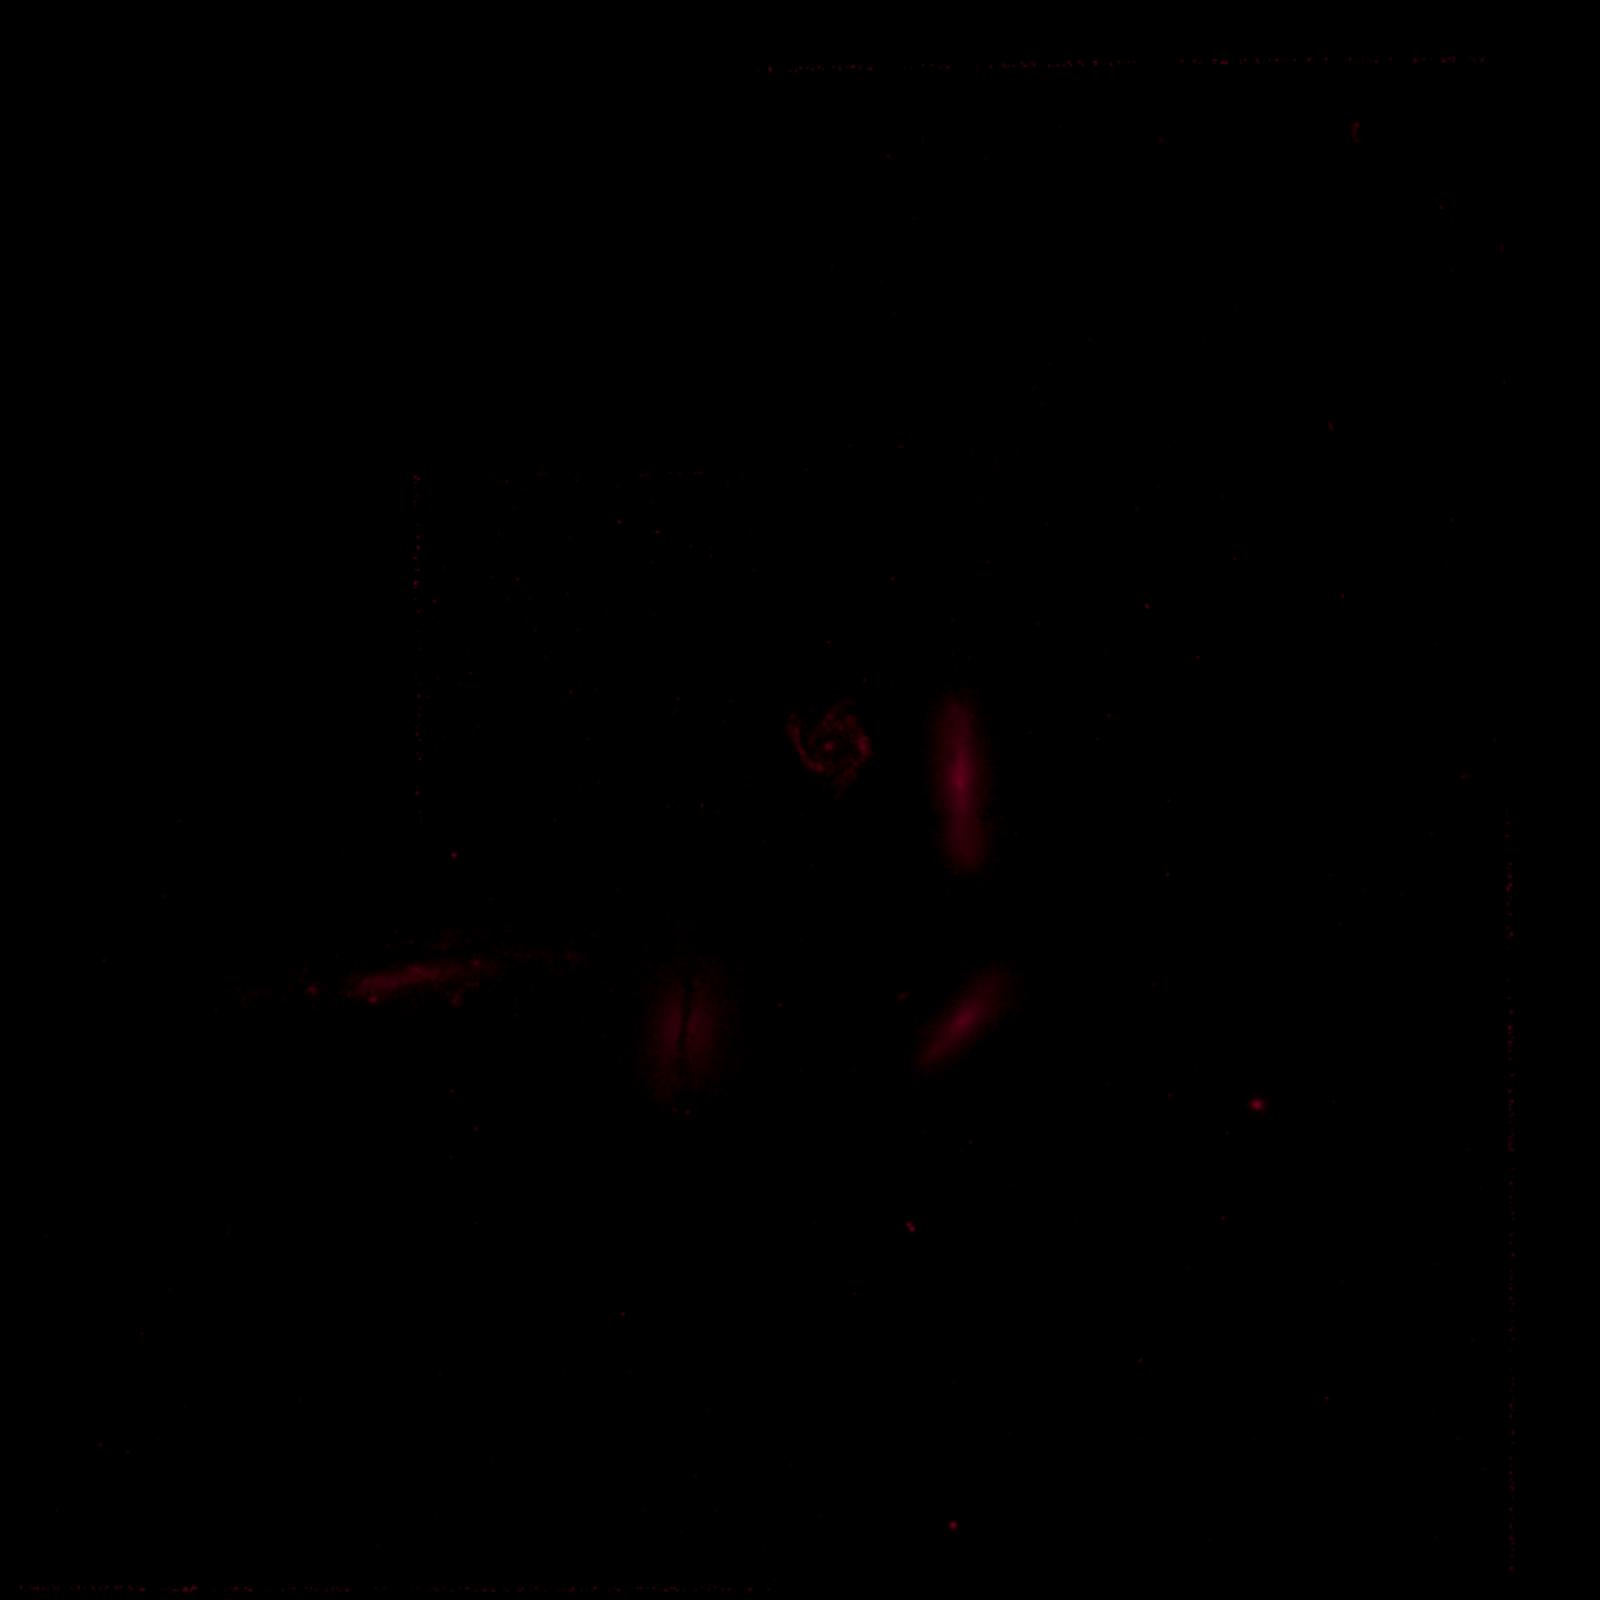
- Stage 2:
Assign colour to the black and white images. To make a colour image
you need preferably 3 or more sets of data (A dataset is initially
monochromatic and in Stage 1 you produce a black and white image for
each dataset.)
Filter Black and White Stretch Image Colour Assigned to Image Name of Colour Ultraviolet 
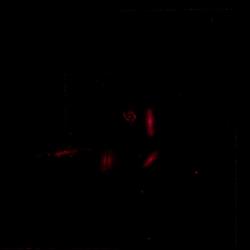
Magenta Blue 
Blue Visual 
Yellowish-Green Infrared 
Orangish-Red
Technical Instructions on Assigning Colours.
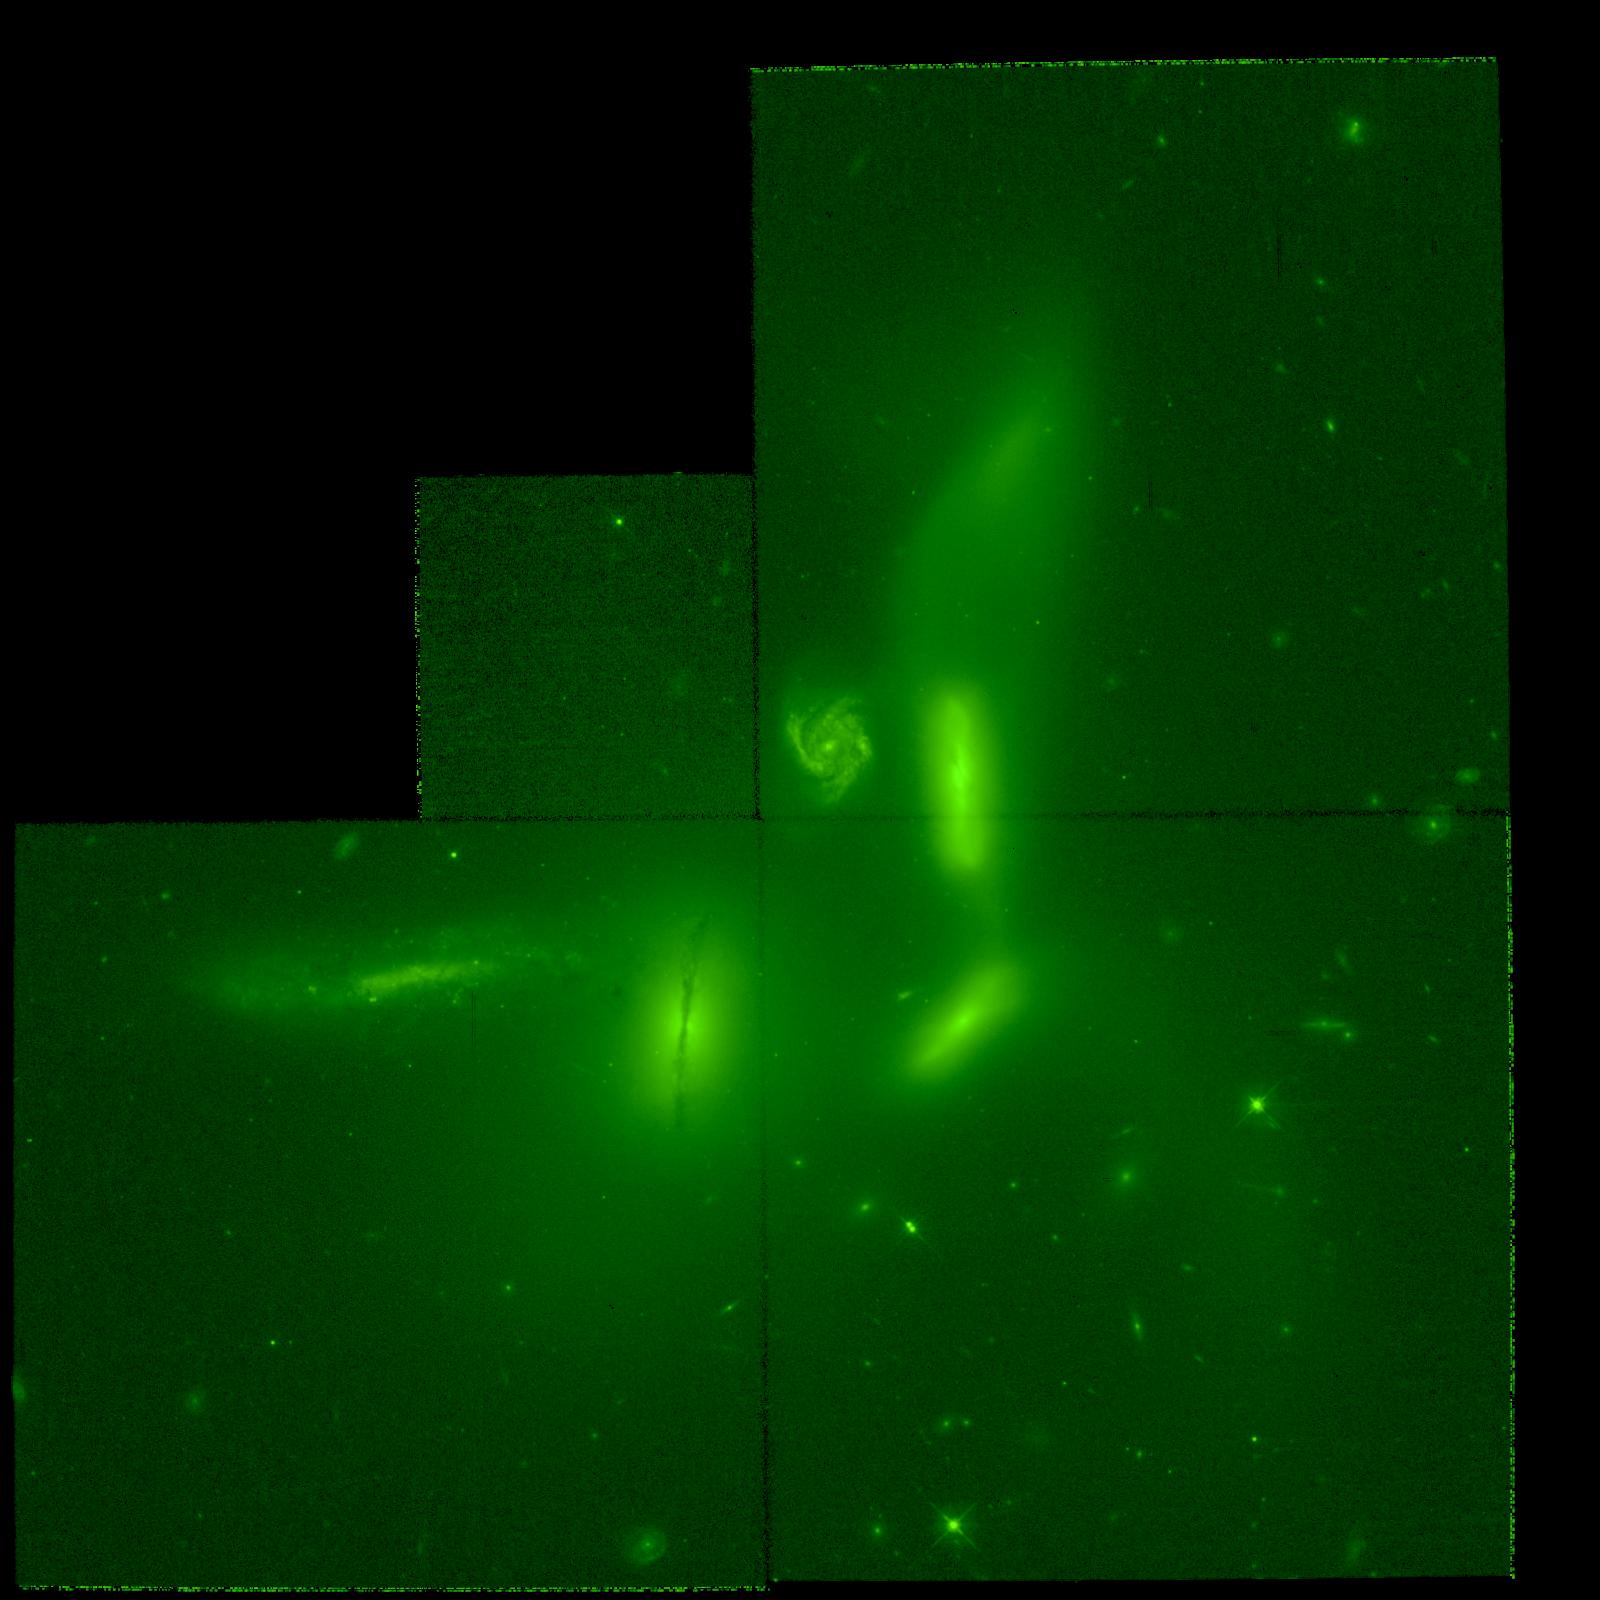
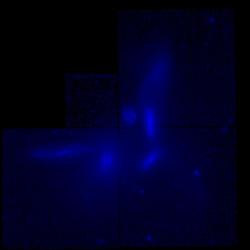
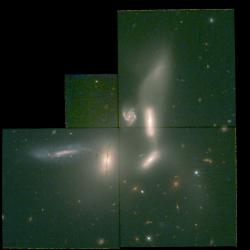
- Stage 3:
Combine the colour images:
Each colour image is placed in a "layer" in an image editting package. Setting the display mode in a particular way allows each image to appear like a transparency (or positive slide) projected onto the other images. The layers are adjusted to reduce noise and to enhance the light/dark contrast and colours. Once satisfied, this multilayered image is copied to a new single layer file, producing the first draft of your colour image.
Technical Instructions on Combining Layers.
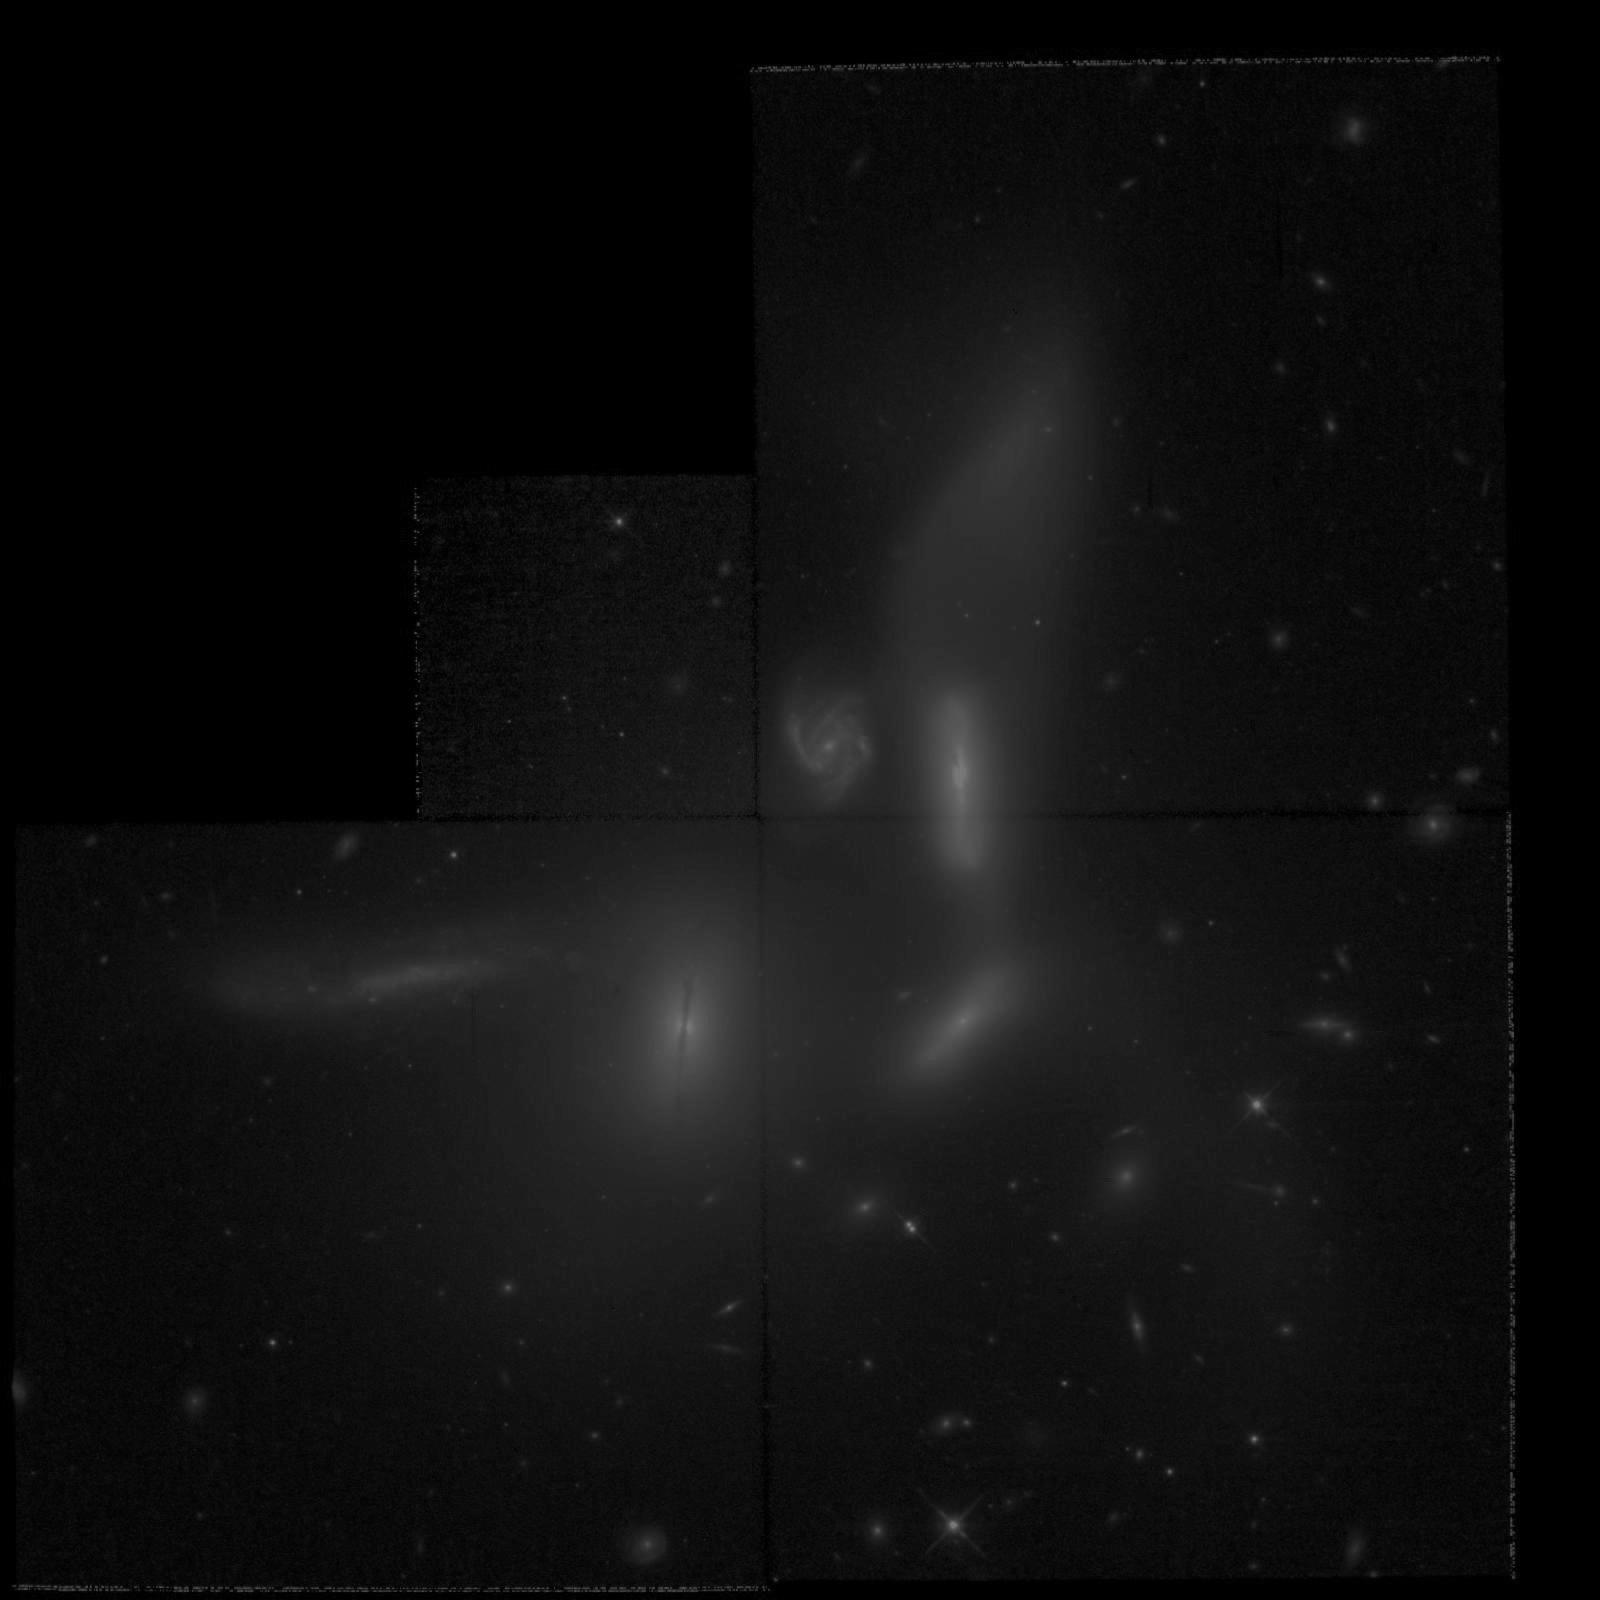
- Stage 4: Final Adjustments. The draft of the colour image
is adjusted for contrast, cosmetic defects are removed and an
orientation is selected.

Technical Instructions on Cosmetic Adjustments